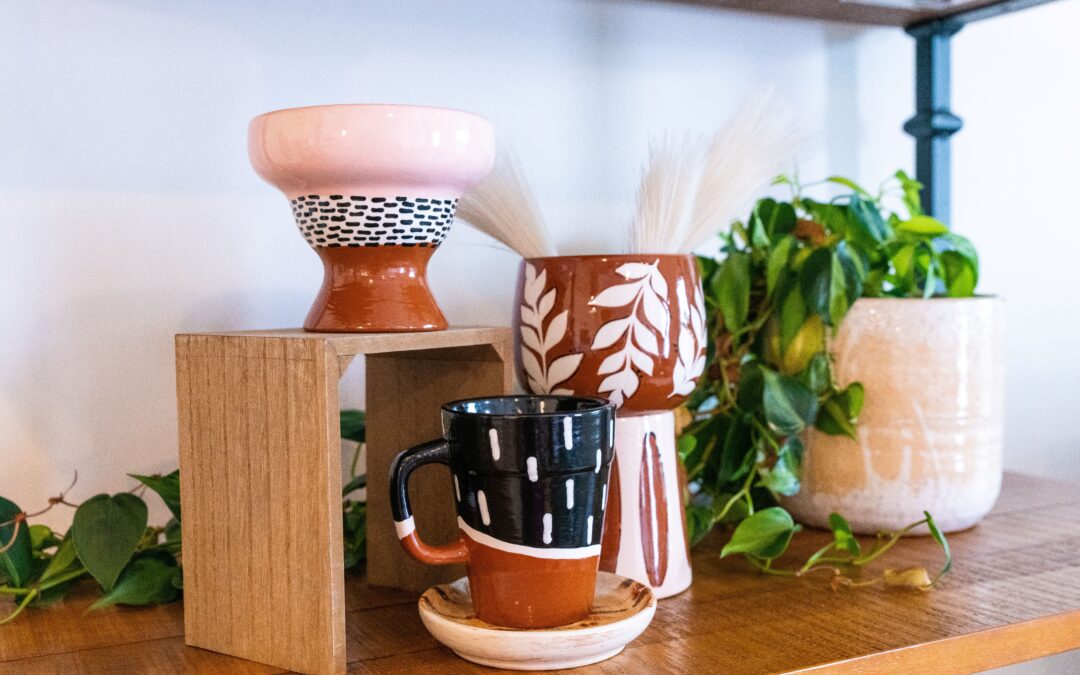
The great thing about pottery painting techniques is that they can help anyone elevate a piece, no matter how artistically inclined (or not!) you may be. Some techniques are virtually fool-proof, and we’re here to give you the inside scoop on how to get fabulous pieces each time you go to the studio.
One classic technique is using masking tape to block off certain designs. Begin by painting your background color, or even leaving it natural white. Once the background is dry, add masking tape on top in your preferred design. You could make stripes, overlap them, or even use stickers in fun shapes. Then, paint right on top of the tape, doing three coats for a really solid color. Before the paint dries, peel off the tape, and reveal the design! This usually leaves very clean lines, but they can always be touched up after the fact if needed.
Another technique to keep in your back pocket is bubble blowing, which is always a fan favorite. We typically teach this technique during special classes as it requires a few extra materials. You’ll need glaze, a straw, some dish soap, and a small container, like a dixie cup or bowl. Begin by adding some water and dish soap with your glaze into the small container. Then, place the straw inside the mix. Start blowing out the straw, but be careful not to suck in! (Glazes are nearly always non-toxic, but it won’t taste too great). The bubbles will start to flow over the top of the container. You can either place the container next to your item or pick up the container and move it slowly above your item, so the bubbles fall on top. Cover the piece in painty bubbles! As the bubbles pop, they’ll leave behind a magical design, and no more work is needed. This is a great technique to do both on bare pottery and on a painted background color.
The last technique we will outline in this post is sgraffito. This is the technique of scratching away paint to reveal more color underneath and is applied in many art forms. Begin by painting a base coat onto your piece. This could be one solid color or a complete rainbow, it doesn’t affect the technique at all. Once the base is dry, paint three coats of another color on top. While the top layer is still wet, use a pencil or the back of a brush to gently scrape away the glaze, drawing whatever design you like. The base color should be revealed underneath!
When you want to try new techniques, check out our website and see what we have on our events calendar. We have workshops, theme nights, and events with varying levels of instruction, so you’re sure to find at least one that strikes your fancy.
With PYOP, the time you spend choosing your piece and painting it is a valuable part of the process. Picking up your completed item and bringing it home is a joy, but the process of making it is a large part of that satisfaction. With PYOP, anyone can be an artist, and the final product can really be something you’re proud of.
As a local PYOP studio, we have very strong roots in our community, probably in more ways than you think! Community members are employees, children have their birthday parties, brides have their showers and bachelorettes, retired artists are encouraged to paint again, current artists pursue new projects, and young people find safe and engaging weekend activities. The role we play in our community dynamic may be unseen, but it is definitely strong.
Every time you visit us, you’re supporting your community in more ways than one. So next time you have an empty afternoon, nowhere to go on a rainy day or feel like you haven’t done a hands-on project in a while, consider checking us out. It’ll make your day, and ours!
